Cross-country skiing is one of the most underrated winter activities. It’s a great way to spend time outside, get movement in, pretty affordable to get into, and surprisingly fun once you get the hang of it, although there is a little learning curve. If downhill skiing feels intimidating or expensive, cross country (also called Nordic skiing) is an amazing way to get outside, explore snowy trails and get a full-body workout without needing a lift ticket. Especially where the snow in Utah has been somewhat minimum this year, this has been a great way to still get outside!
Whether you’re brand new or just itching to test out a new hobby, this beginner’s guide will walk you through everything you need to know to give cross-country skiing a go.
What Is Cross-Country Skiing?
Cross-country skiing is a form of skiing where you “skate” across groomed trails or small hills. Think of it as a mix between hiking and gliding. You wear a specific boot that clips into the binding on the ski, connecting only the toe of your boot to the ski leaving you heel free. Cross-country skis are long, narrow, and very lightweight. Using poles and your own movement you can start to walk/glide in the skis.
There are two types of of cross-country skiing, classic skiing which is my favorite, and best for beginners and first timers. Usually with classic skiing you ski in pre made parallel tracks and move forward in natural walking motion. Classic cross-country skiing is great for sightseeing, The second and more advanced option is called skate skiing, which is more geared toward exercising, speed, and can be competitive.
What Gear do I need?
You’ll need a pair of skis, cross-country boots, poles, and some active warm clothes. Lots of nordic centers offer rentals and can help you pick out the right gear to try. The length of the ski is based on your height and weight, specific XC boots based on your foot size, and long poles that should reach to about your armpit/shoulder. REI also rents skis that you can pick up and take to any trail head.
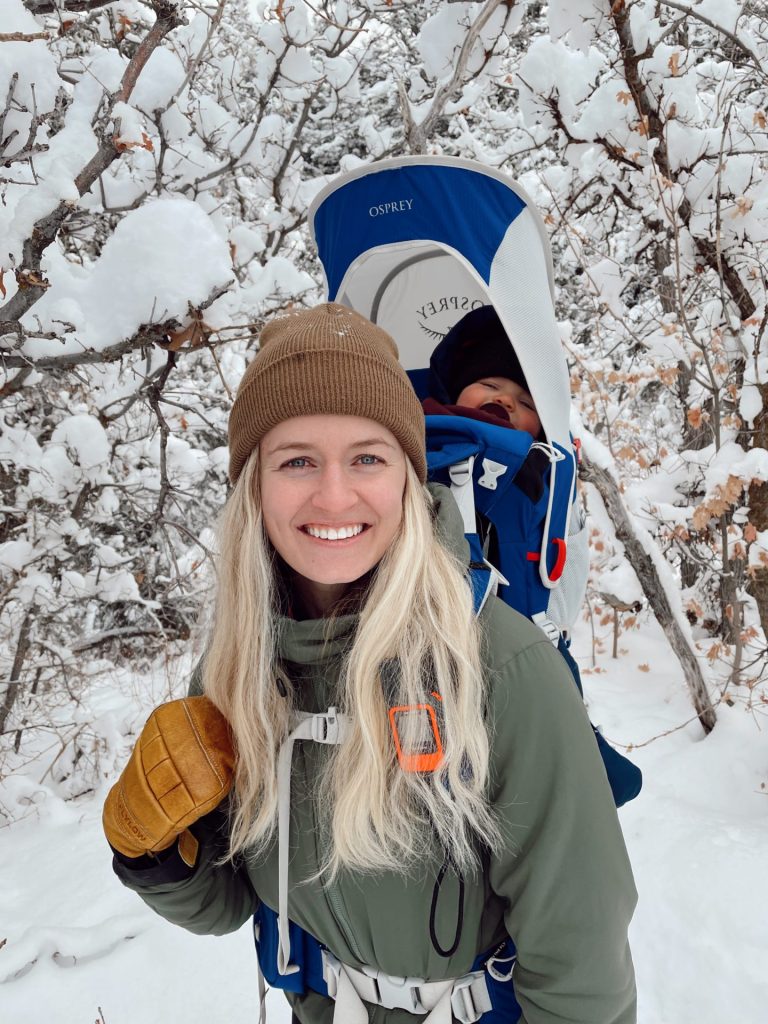
For clothing, I’d recommend dressing like you’re going for a winter hike:
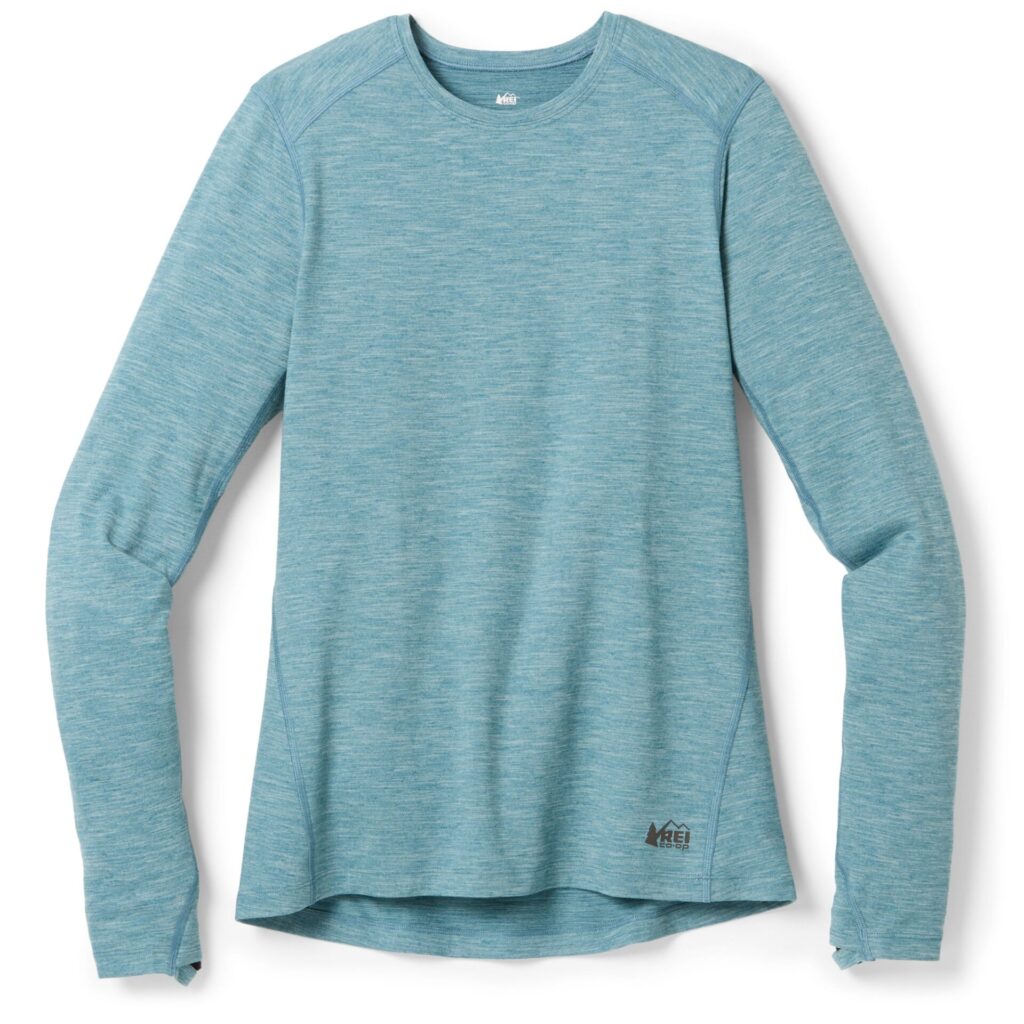
Base Layers: Start with a solid base layer, for warmer temperatures I’d recommend a synthetic layer, but if it’s quite cold you could opt for a merino base layer, too.
I’d go with the same system for bottoms, either synthetic or merino or sometimes I’ll wear fleece lined yoga leggings.
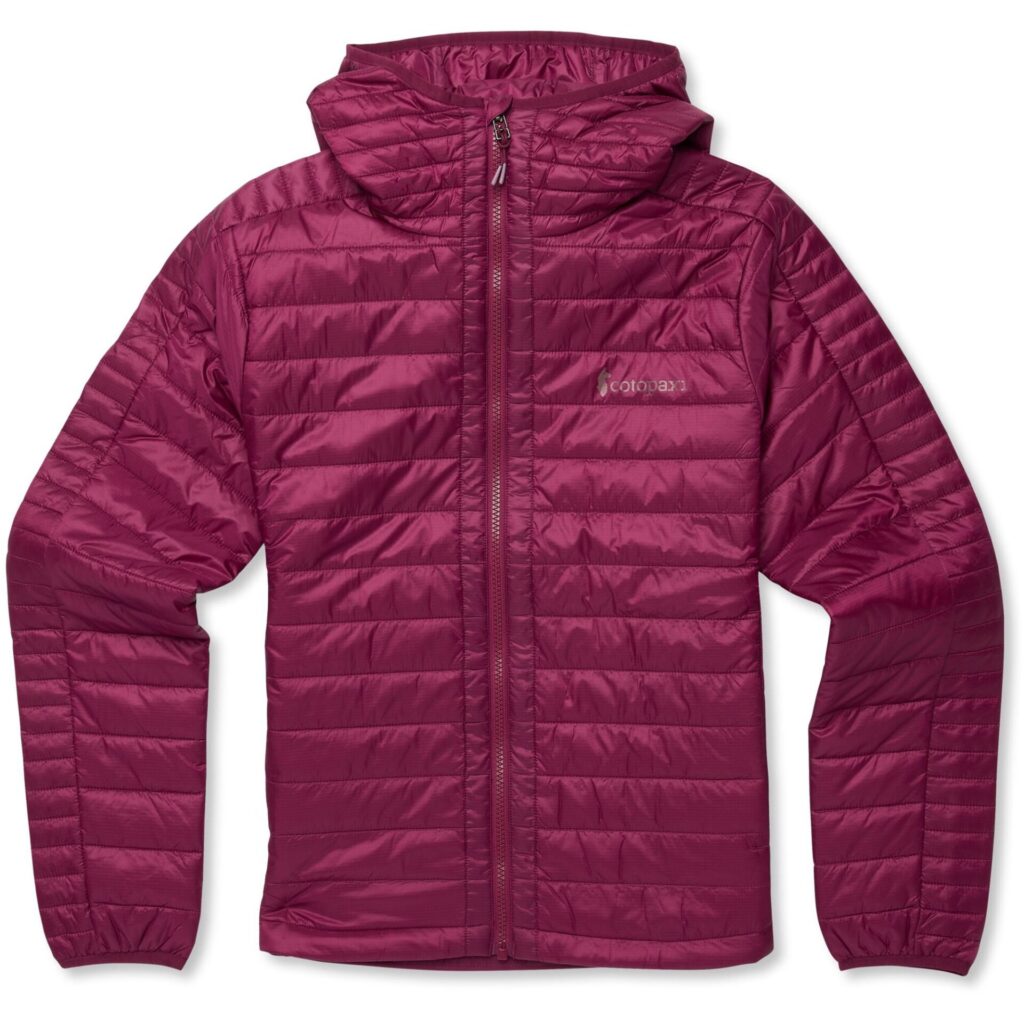
Mid Layer: I love this synthetic jacket. It’s lightweight but warm and I am able to layer under it without feeling super constricted. Synthetic insulated jackets are a great option in the winter because even if they get wet, they still help keep you insulated, unlike down.
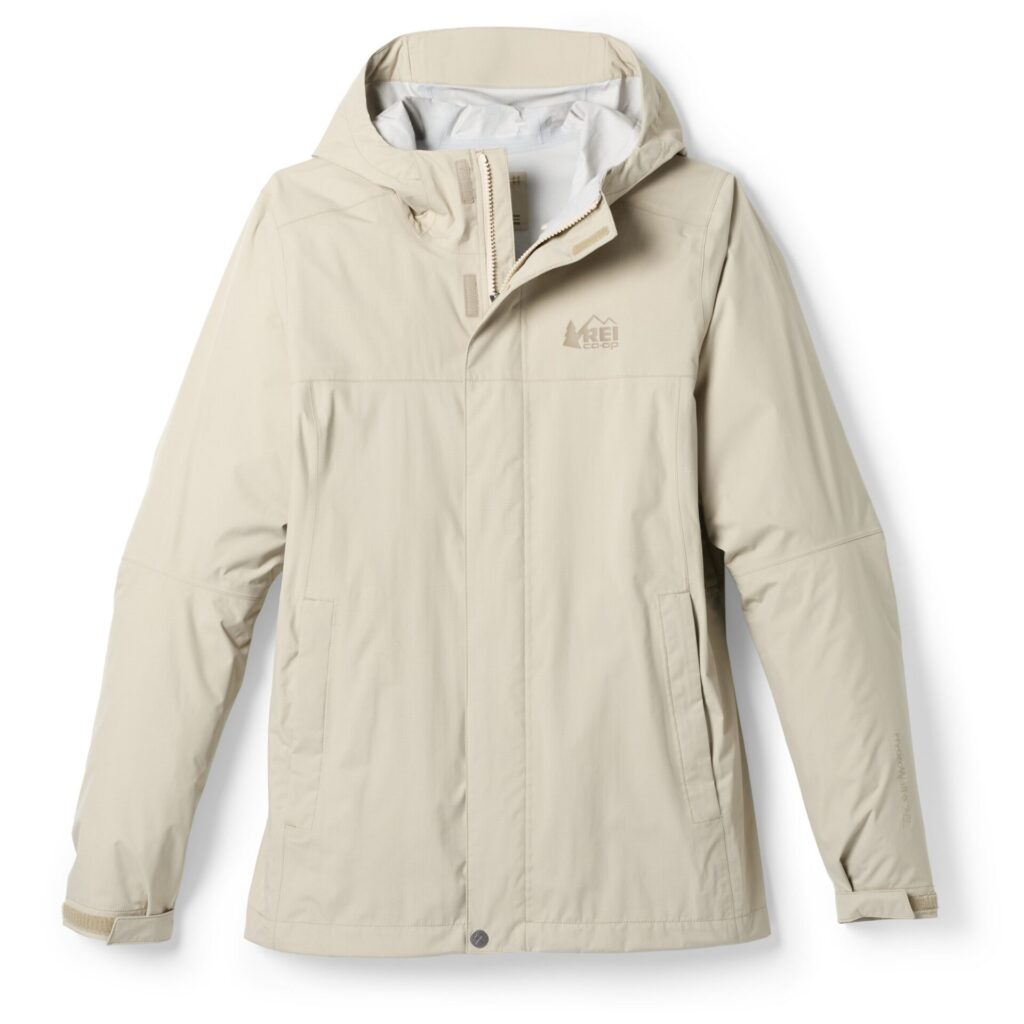
Outer Shell: Often times a rain jacket is all you need to protect you from the elements. It’s nice to have a shell until your body temperature warms up, then you can take it off and stash it. I love this inexpensive rain jacket from REI.
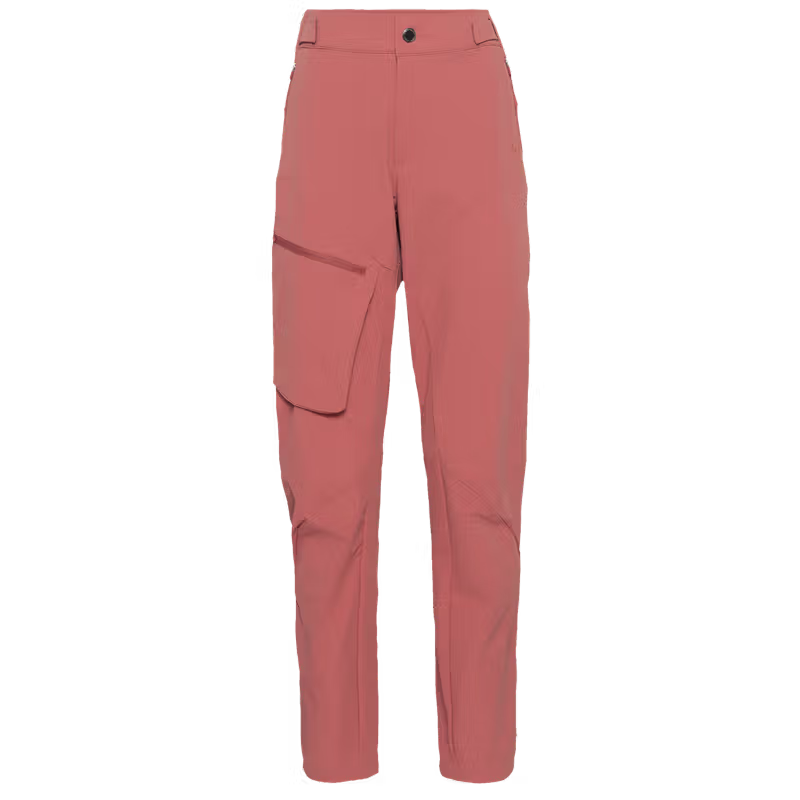
Pants: If it’s too cold to XC ski in just leggings, I’ll throw these on over. They layer well and are waterproof. The pocket on the leg is great for easy access while moving.
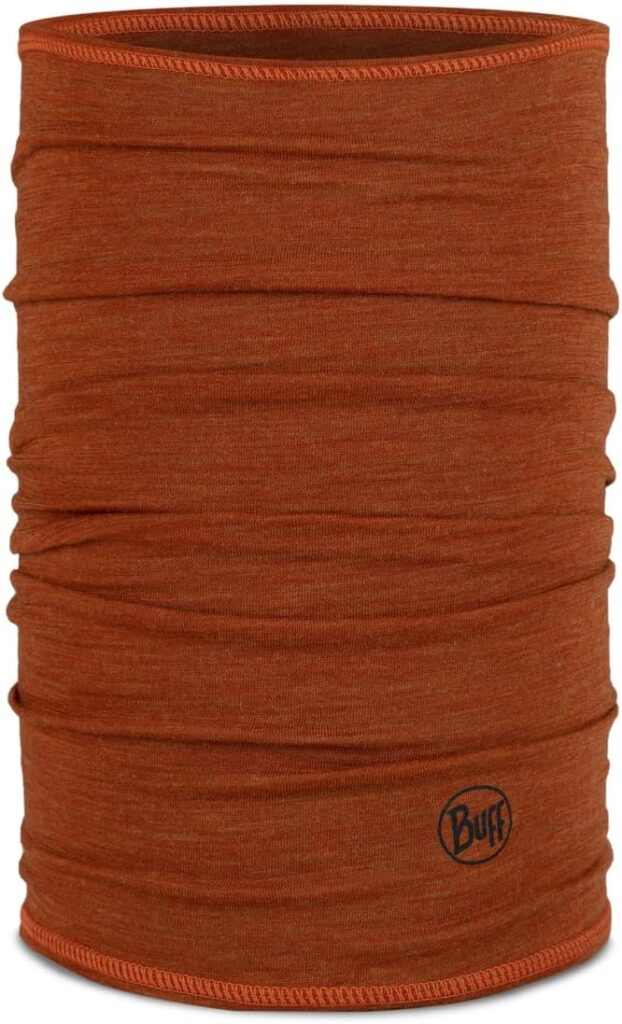
Neck Gaiter: Neck gaiters are a super versatile piece of winter hiking clothing. I mainly wear mine around my neck when it’s really cold or windy so it protects my neck and so I can easily pull it up over my face. But you can also wear it around your ears like a headband, make a makeshift beanie, and a lot more. I have both a merino wool and fleece neck gaiter and love them both.
Don’t forget gloves, a hat, and some sun glasses!
Pro tip: You’ll warm up fast. Make sure you can take off layers as needed!
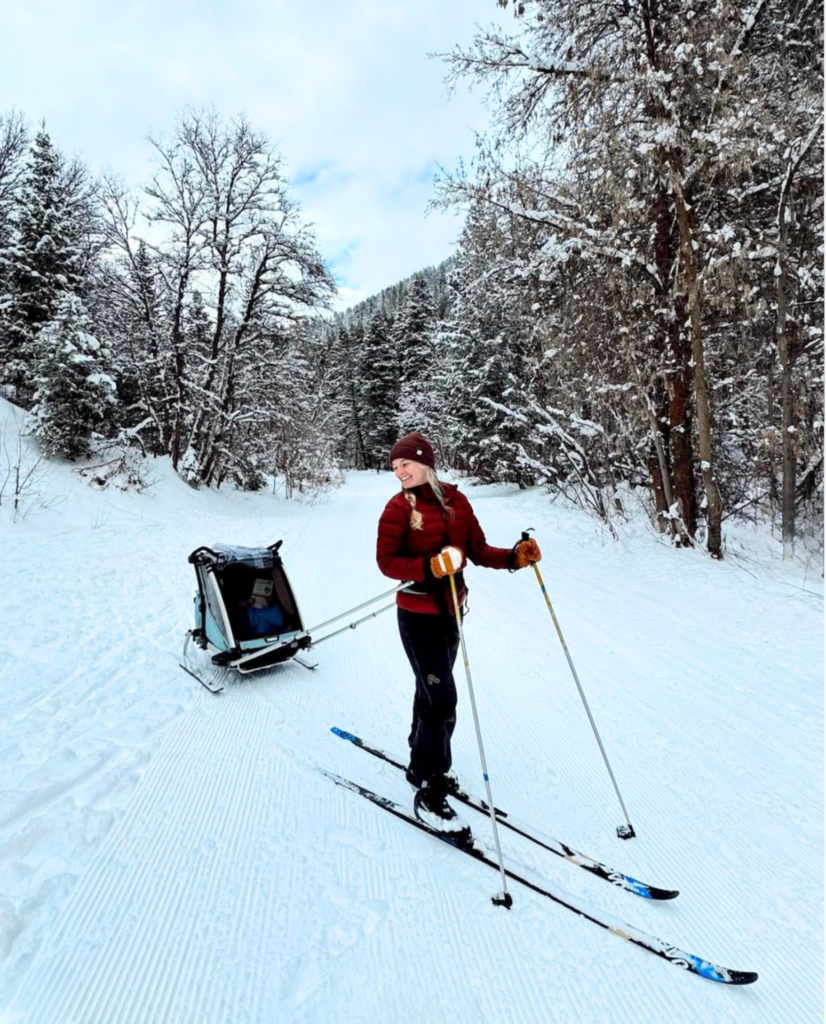
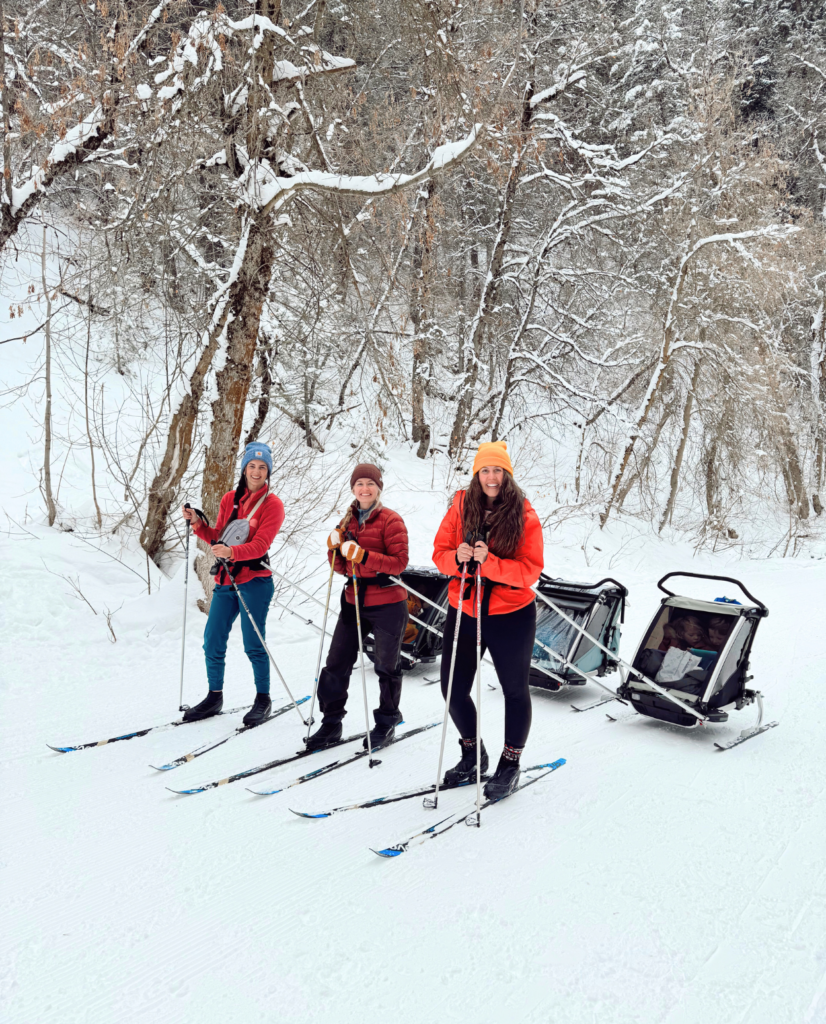
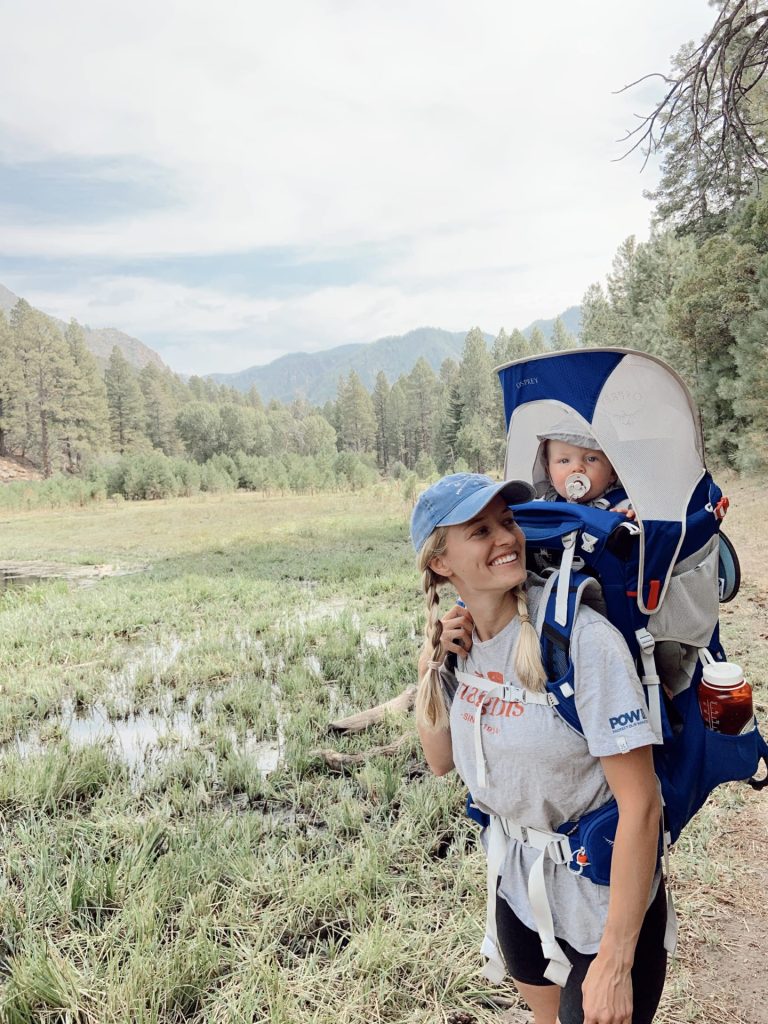
To bring littles along, I’d recommend using the Thule chariot trailer/stroller. We snagged the cross country skiing kit, which converts your stroller into a pull behind skiing sled.
Tips for Beginners
- Keep your weight centered to stay balanced: Bend your knees slightly, and know you’re going to fall once or twice as you figure it out.
- Use your poles: The poles are quite long, so try to focus on planting them a little behind you, not straight down.
- Look Forward: It’s easy to look down, but look ahead and don’t learn too far forward.
- Don’t overdress: It can feel tempting to bundle up to be in cold temperatures, but at soon as you get moving I promise your temperature will rise. So, layering correctly will make your time outside way better.
- Have fun! Cross-country skiing can take a moment to get the hang off, but I promise you’ll get it with some practice.
How to Find XC Trails
In most areas that get snow, you can find a dedicated cross-country ski spot. Nordic centers are the easiest and will have groomed trails and warming huts which can be really fun. Some downhill ski resort will also have a dedicated XC ski area. These types of areas will sometime charge a day pass fee to use the facilities, so do a quick google search in your area to know what to expect.
The app AllTrails (which is great to find hiking trails) has a cross-country filter that is an awesome way to get local data on trail around you. Check out reviews and insights from people who have recently been on trails, which is especially nice to keep tabs on snow quality.
Another great option to find trails are heading out on public land/national forest. While these options might not be groomed or maintained specifically for XC skiing forest service roads or paved roads that close for winter make great trails. It’s a great free option, and it can be really rewarding to make your own tracks.
Hope this helps you get out this winter! If you’re looking for more inspo make sure to check out these posts here: